
Sauna Assembly Guide
Sauna Assembly
Before You Build
Tools and Materials
To make assembly and setup go smoothly, we recommend gathering the following items beforehand:
✅ Cordless Drill (or handheld screwdriver)
✅ Outdoor water heater (shower)
✅ Plumbing connectors and adapters (shower) (note the exact hardware you need will depend on how you are setting up your water connection)
Key Requirements
240V hook-up (for heater – electrician required)
Standard outlet (for lights and control panel)
Surface: gravel pad, concrete pad, or deck (no grass or dirt)
Drainage & Site Prep
IMPORTANT: The sauna must be placed on a dry, well-drained surface to prevent wood rot.
Place your sauna on one of the following:
2” gravel pad
Wooden deck
Concrete pad
Never place the sauna directly on grass, dirt, or any moist ground. A lightweight wooden platform is provided to elevate the sauna off the ground, but if you expeirnce heavy rains, consider putting 2x4 planks beneath the sauna to ensure the floor wood isn’t sitting in water for extended periods.
Unboxing & Inventory
Carefully open your pallet and remove all contents.
Use the included packing list to confirm you have all parts.
Review the floor plan and assembly diagram before beginning.
Step-by-Step Assembly
1. Build the Floor
Start by assembling the floor base.
Connect the floor pieces and place on top of the lightweight barrier piece.
Watch the assembly video A below to see how floor pieces lock together and how walls will attach.
2. Assemble the Walls
With 3–4 people, lift and slot wall panels into place so that the A and B wall hooks connect. Watch assembly video A below.
Use a rubber mallet to tap panels together until the corners are flush.
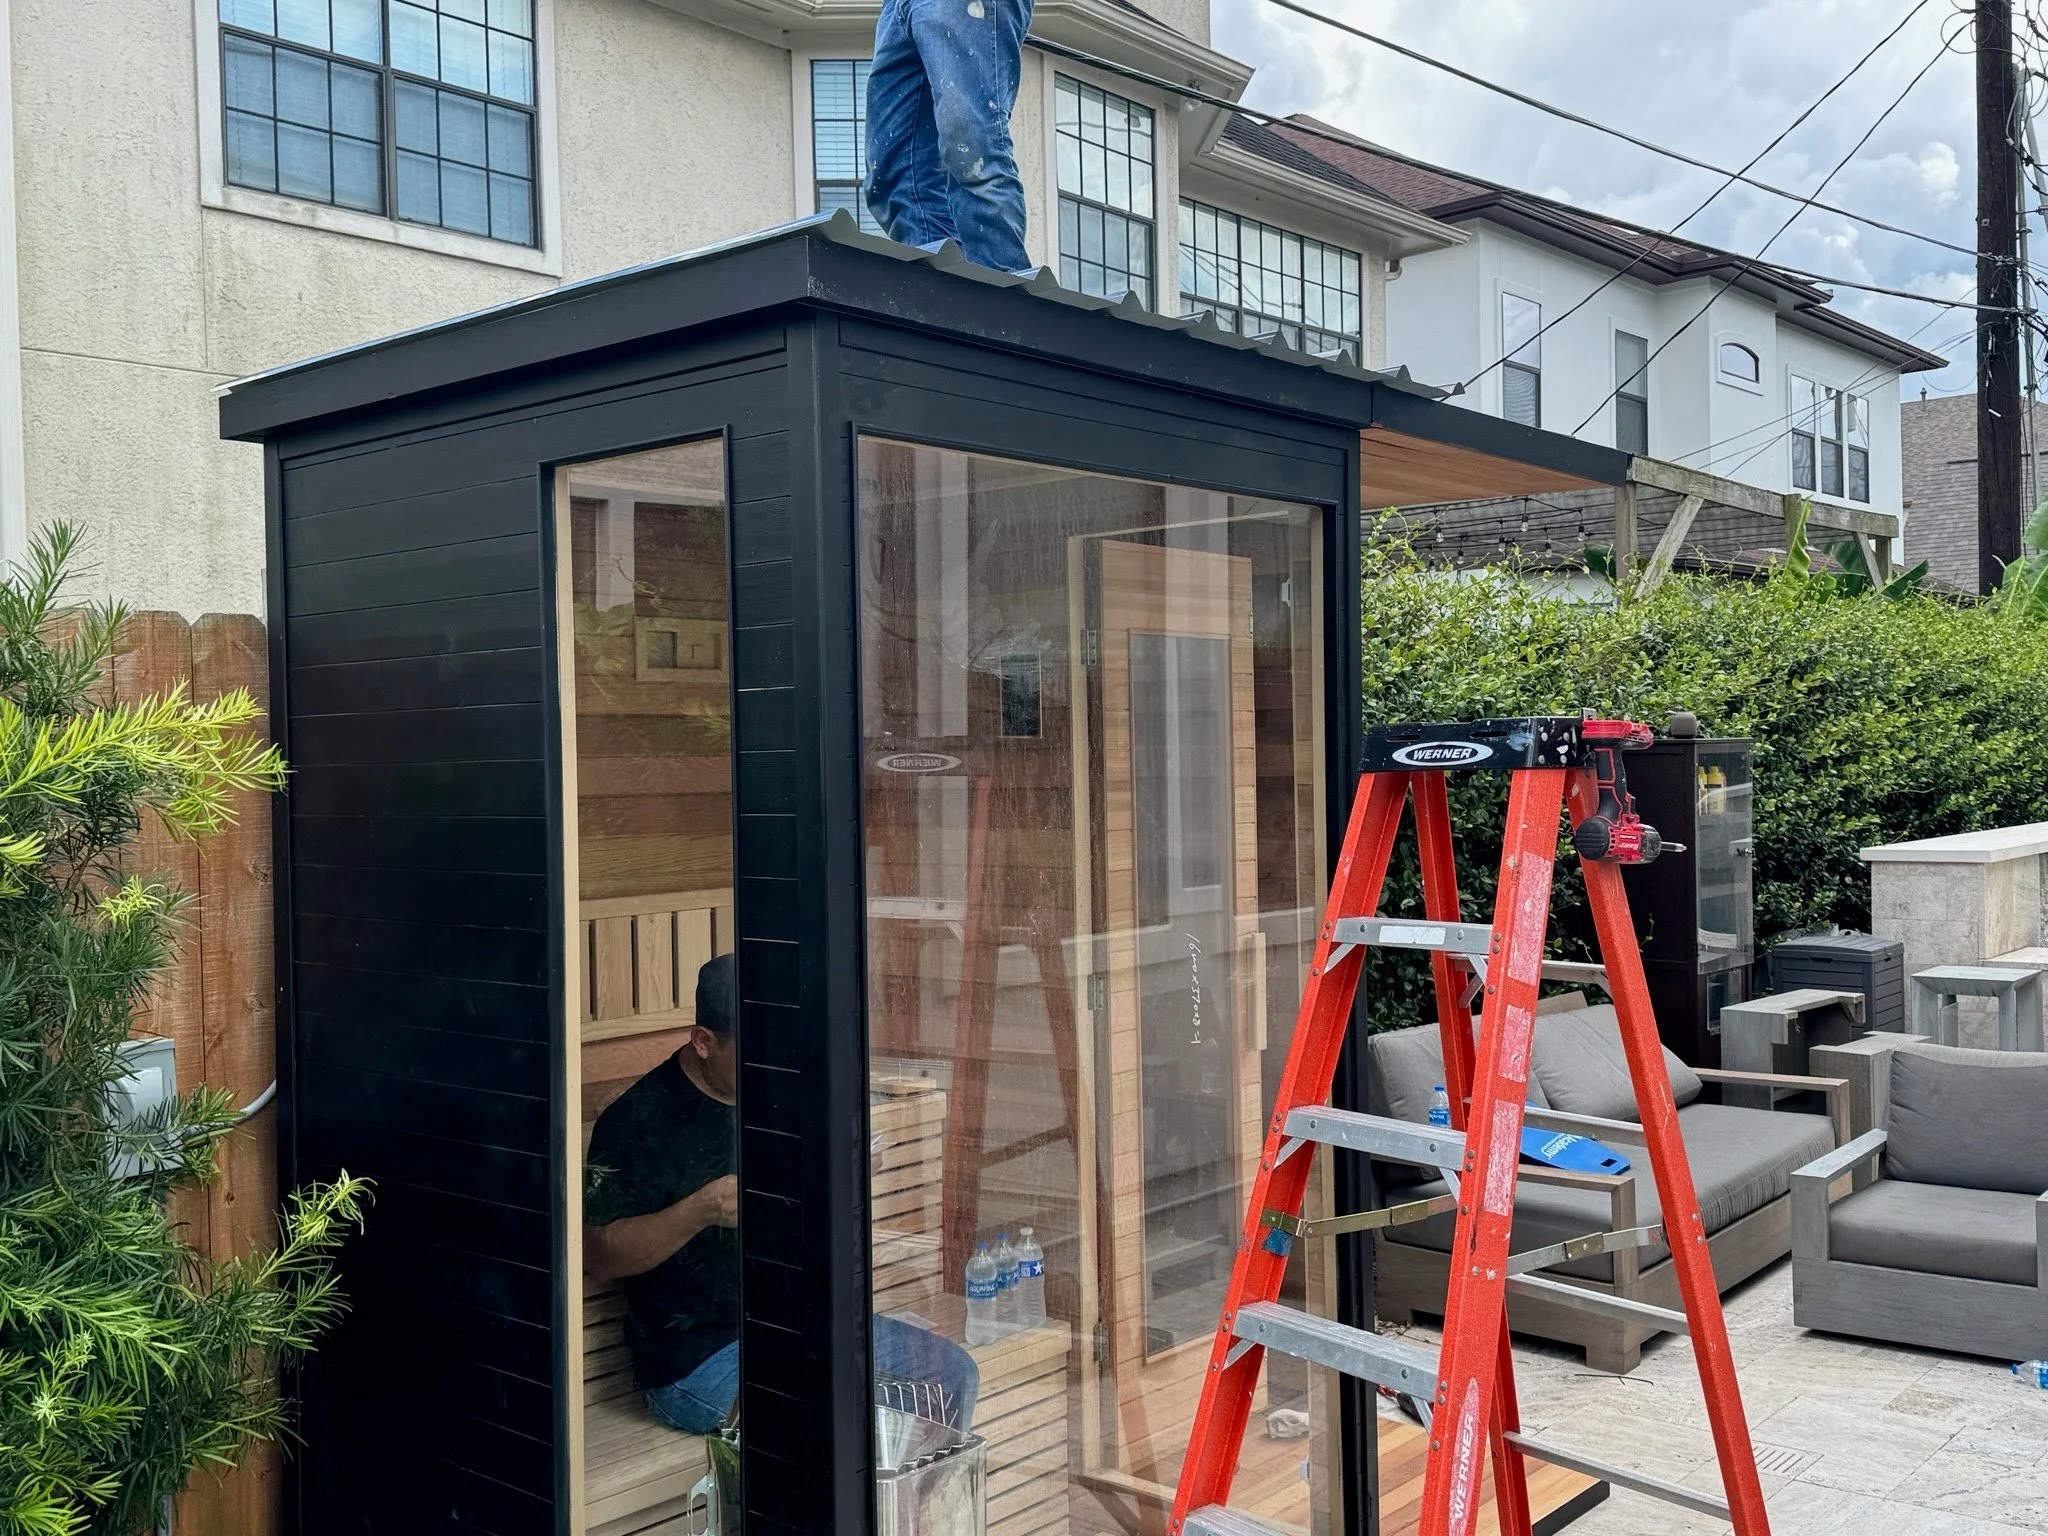
3. Install the Roof
The roof has two layers:
Wood Ceiling
Place the wooden ceiling layer on top of the walls.
Drill screws included through roof beams into the wall structure as shown in assembly video B below.
Metal Roof Tiles
Add the corrugated foam closure strip to the side edges of the top of the sauna walls. Seal and secure evenly with a thin layer of silicone glue.
Lay roof tiles over the wooden roof.
Use provided screws to fasten tiles securely as shown in assembly video C.
Apply a dollop of silicone glue to each screw head to waterproof the fasteners as shown in assembly video D below. We suggest adding silicone to the seams of the tiles as well to seal the roof from water in heavy rains.
Electrical Setup
Plug the lights and control panel power cord into a regular outdoor-rated outlet.
Sauna Heater
Requires a 240V connection from your home to the sauna heater.
This should be installed by a licensed electrician.
Bench Installation
Position benches according to the layout diagram.
Screw them securely into place.
Shower System (Optional)
If your sauna has a shower system included, it can connect to a garden hose or outdoor tankless water heater.
You will need to purchase a hose-to-shower adapter from a hardware store or have a plumber hook everything up for you.
From the back, looking at the back sauna wall: The left pipe on the left is the hot water hookup and the right is cold water hookup.
📞 Need Help?
If anything seems unclear, or if you notice missing parts, gaps, or installation issues:
Take photos
Contact our support team via email or phone (details included with your kit)
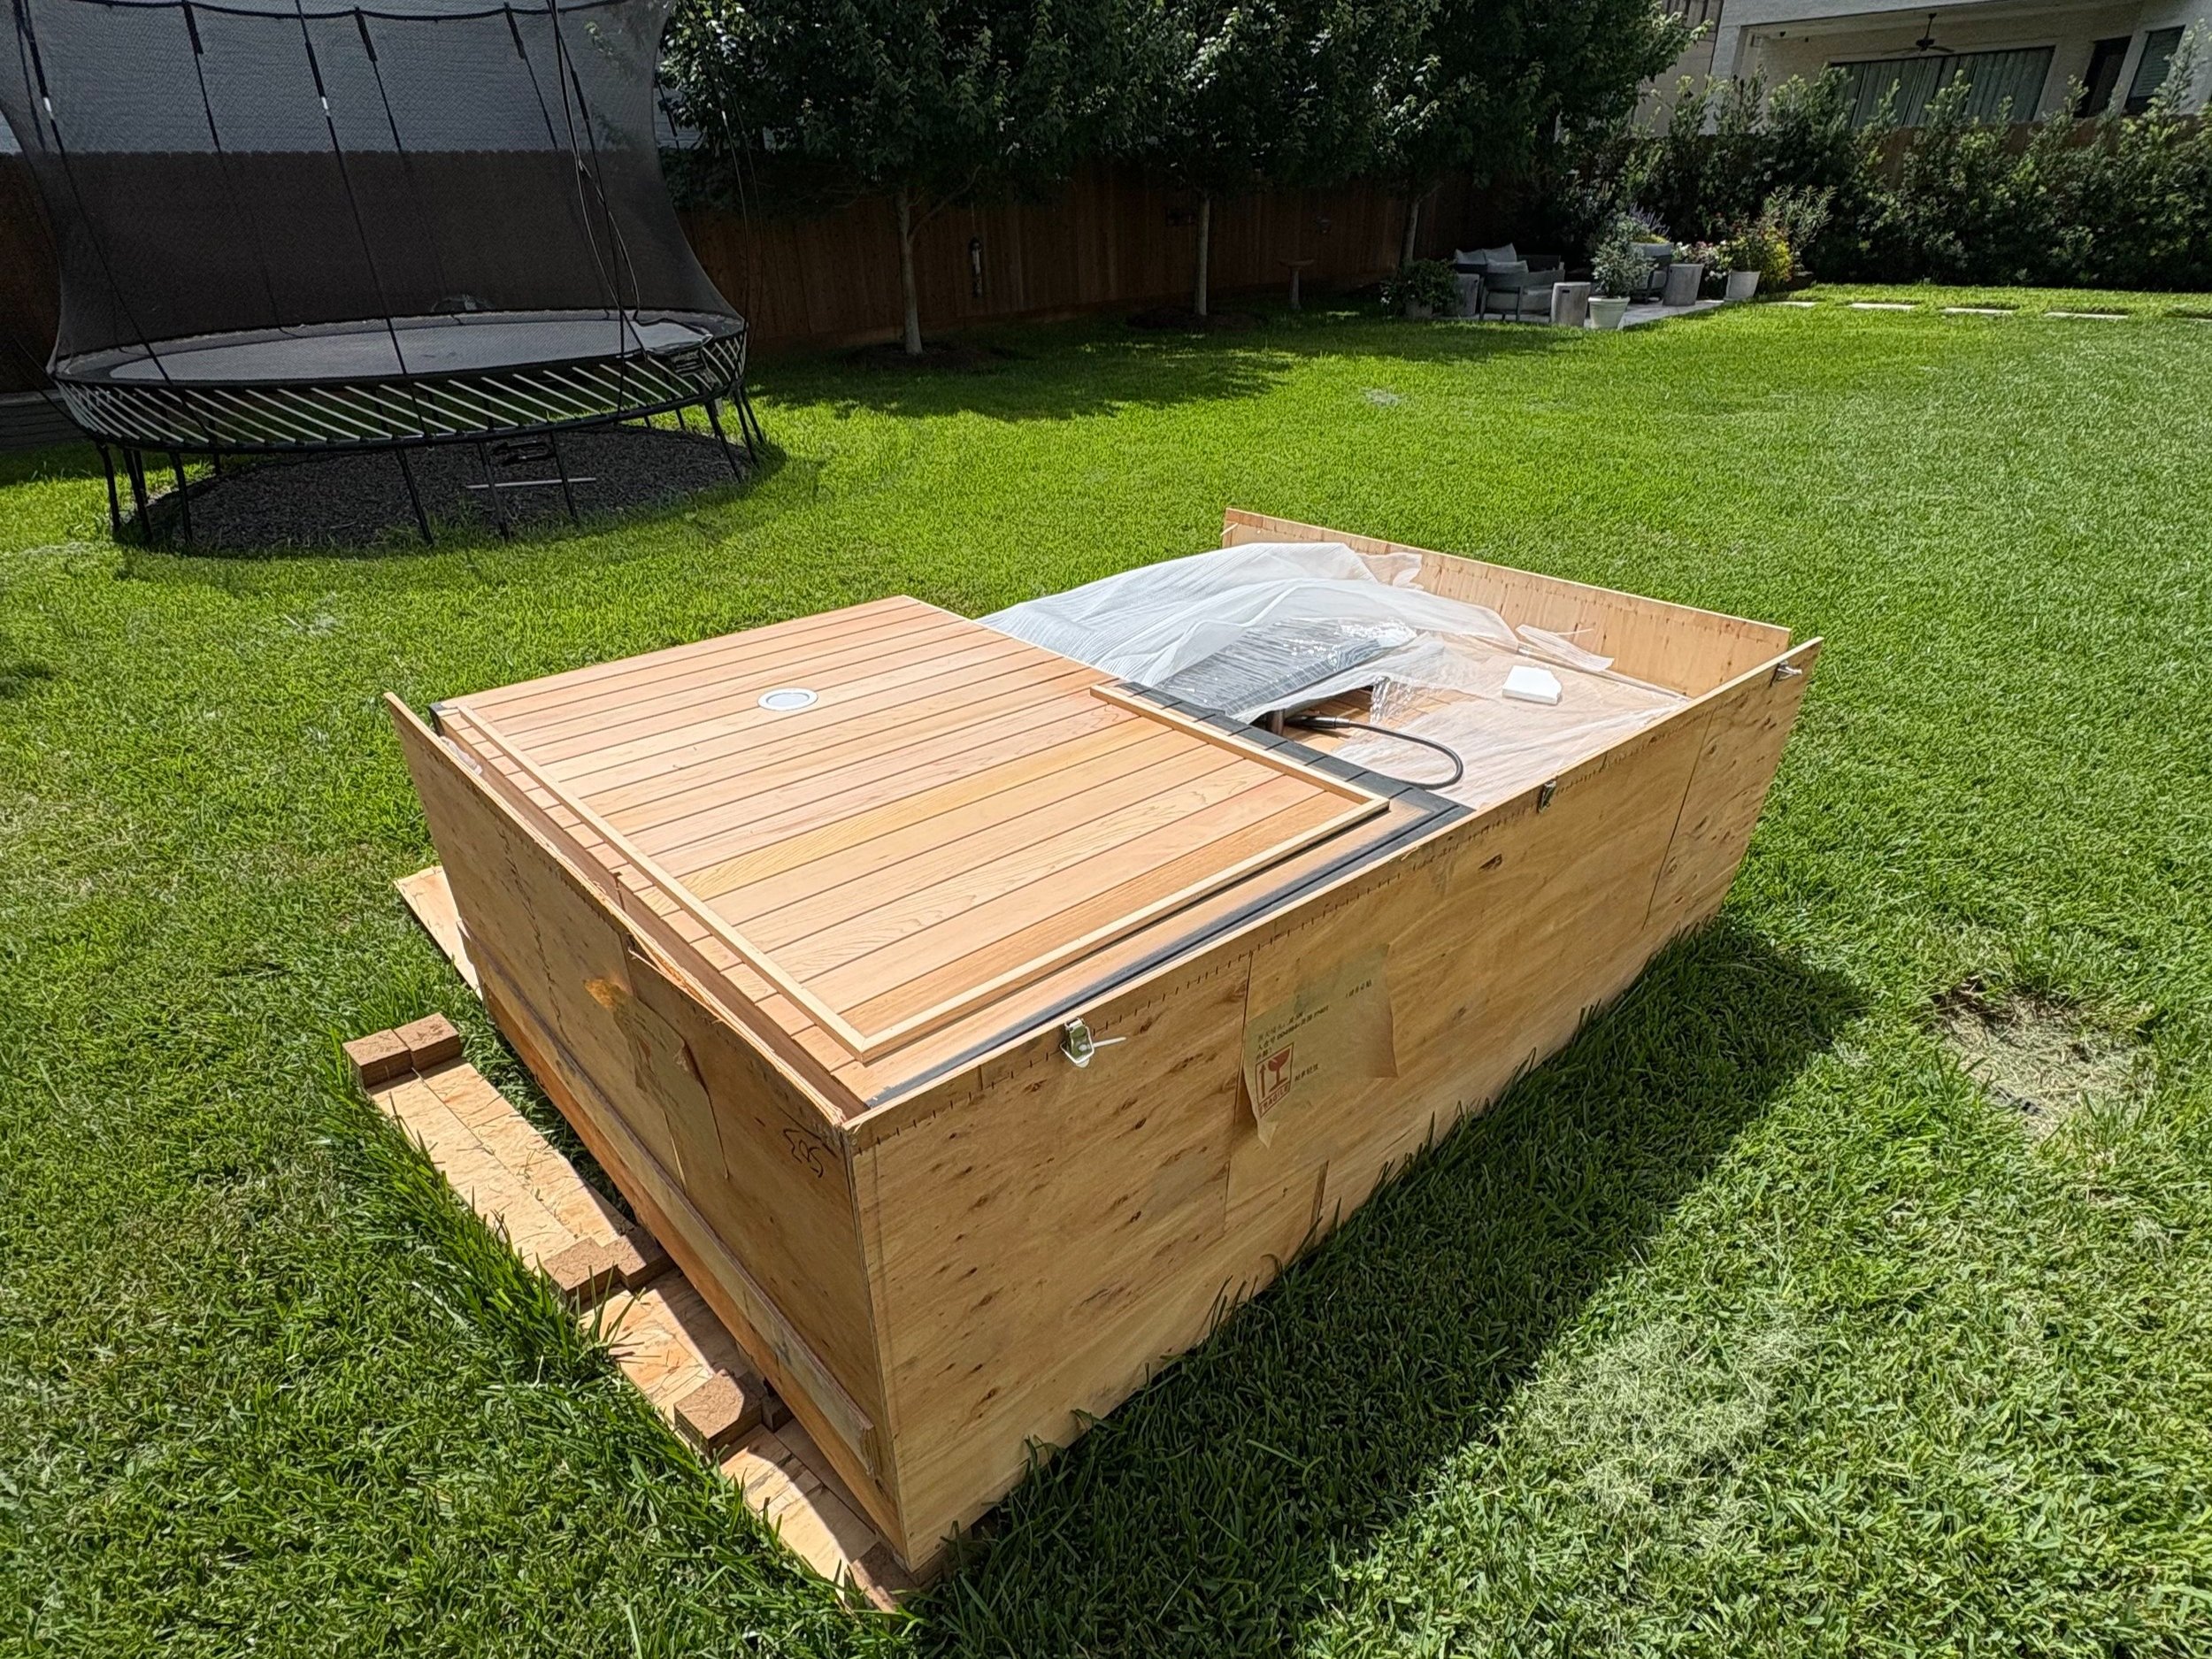
Sauna Pallet Box
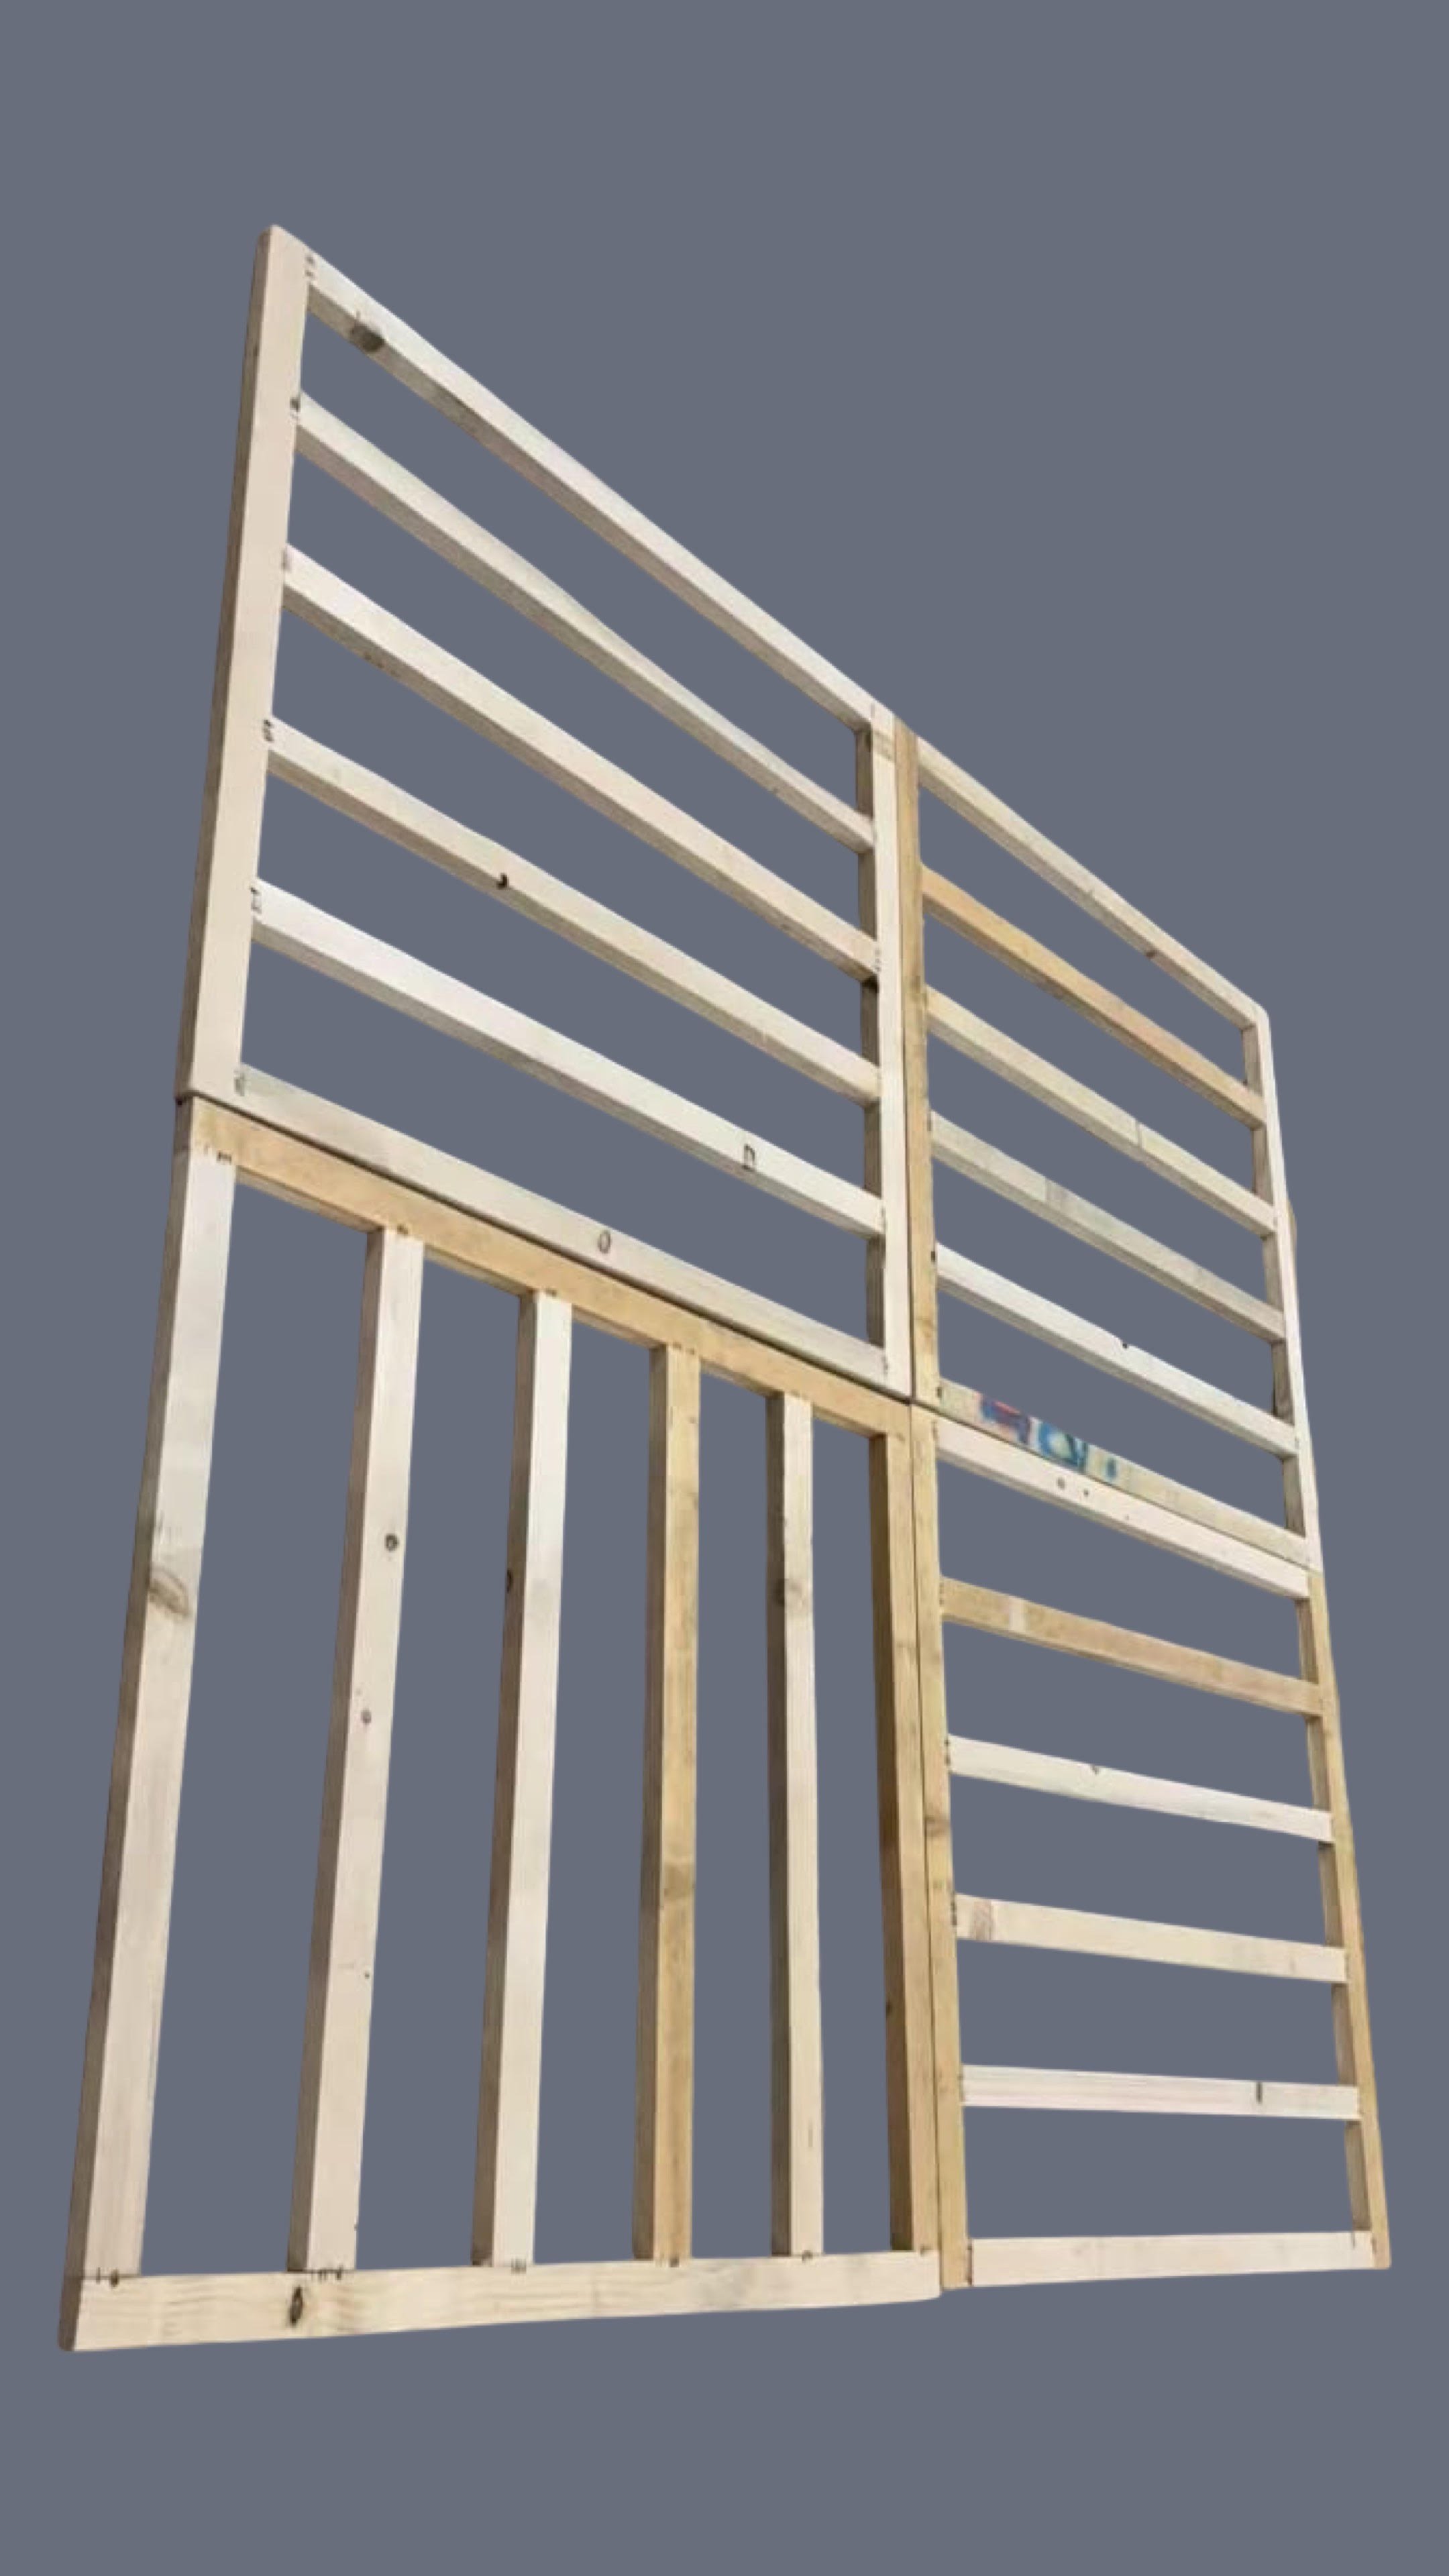
Protective Base

Wall Hook Side A

Wall Hook Side B
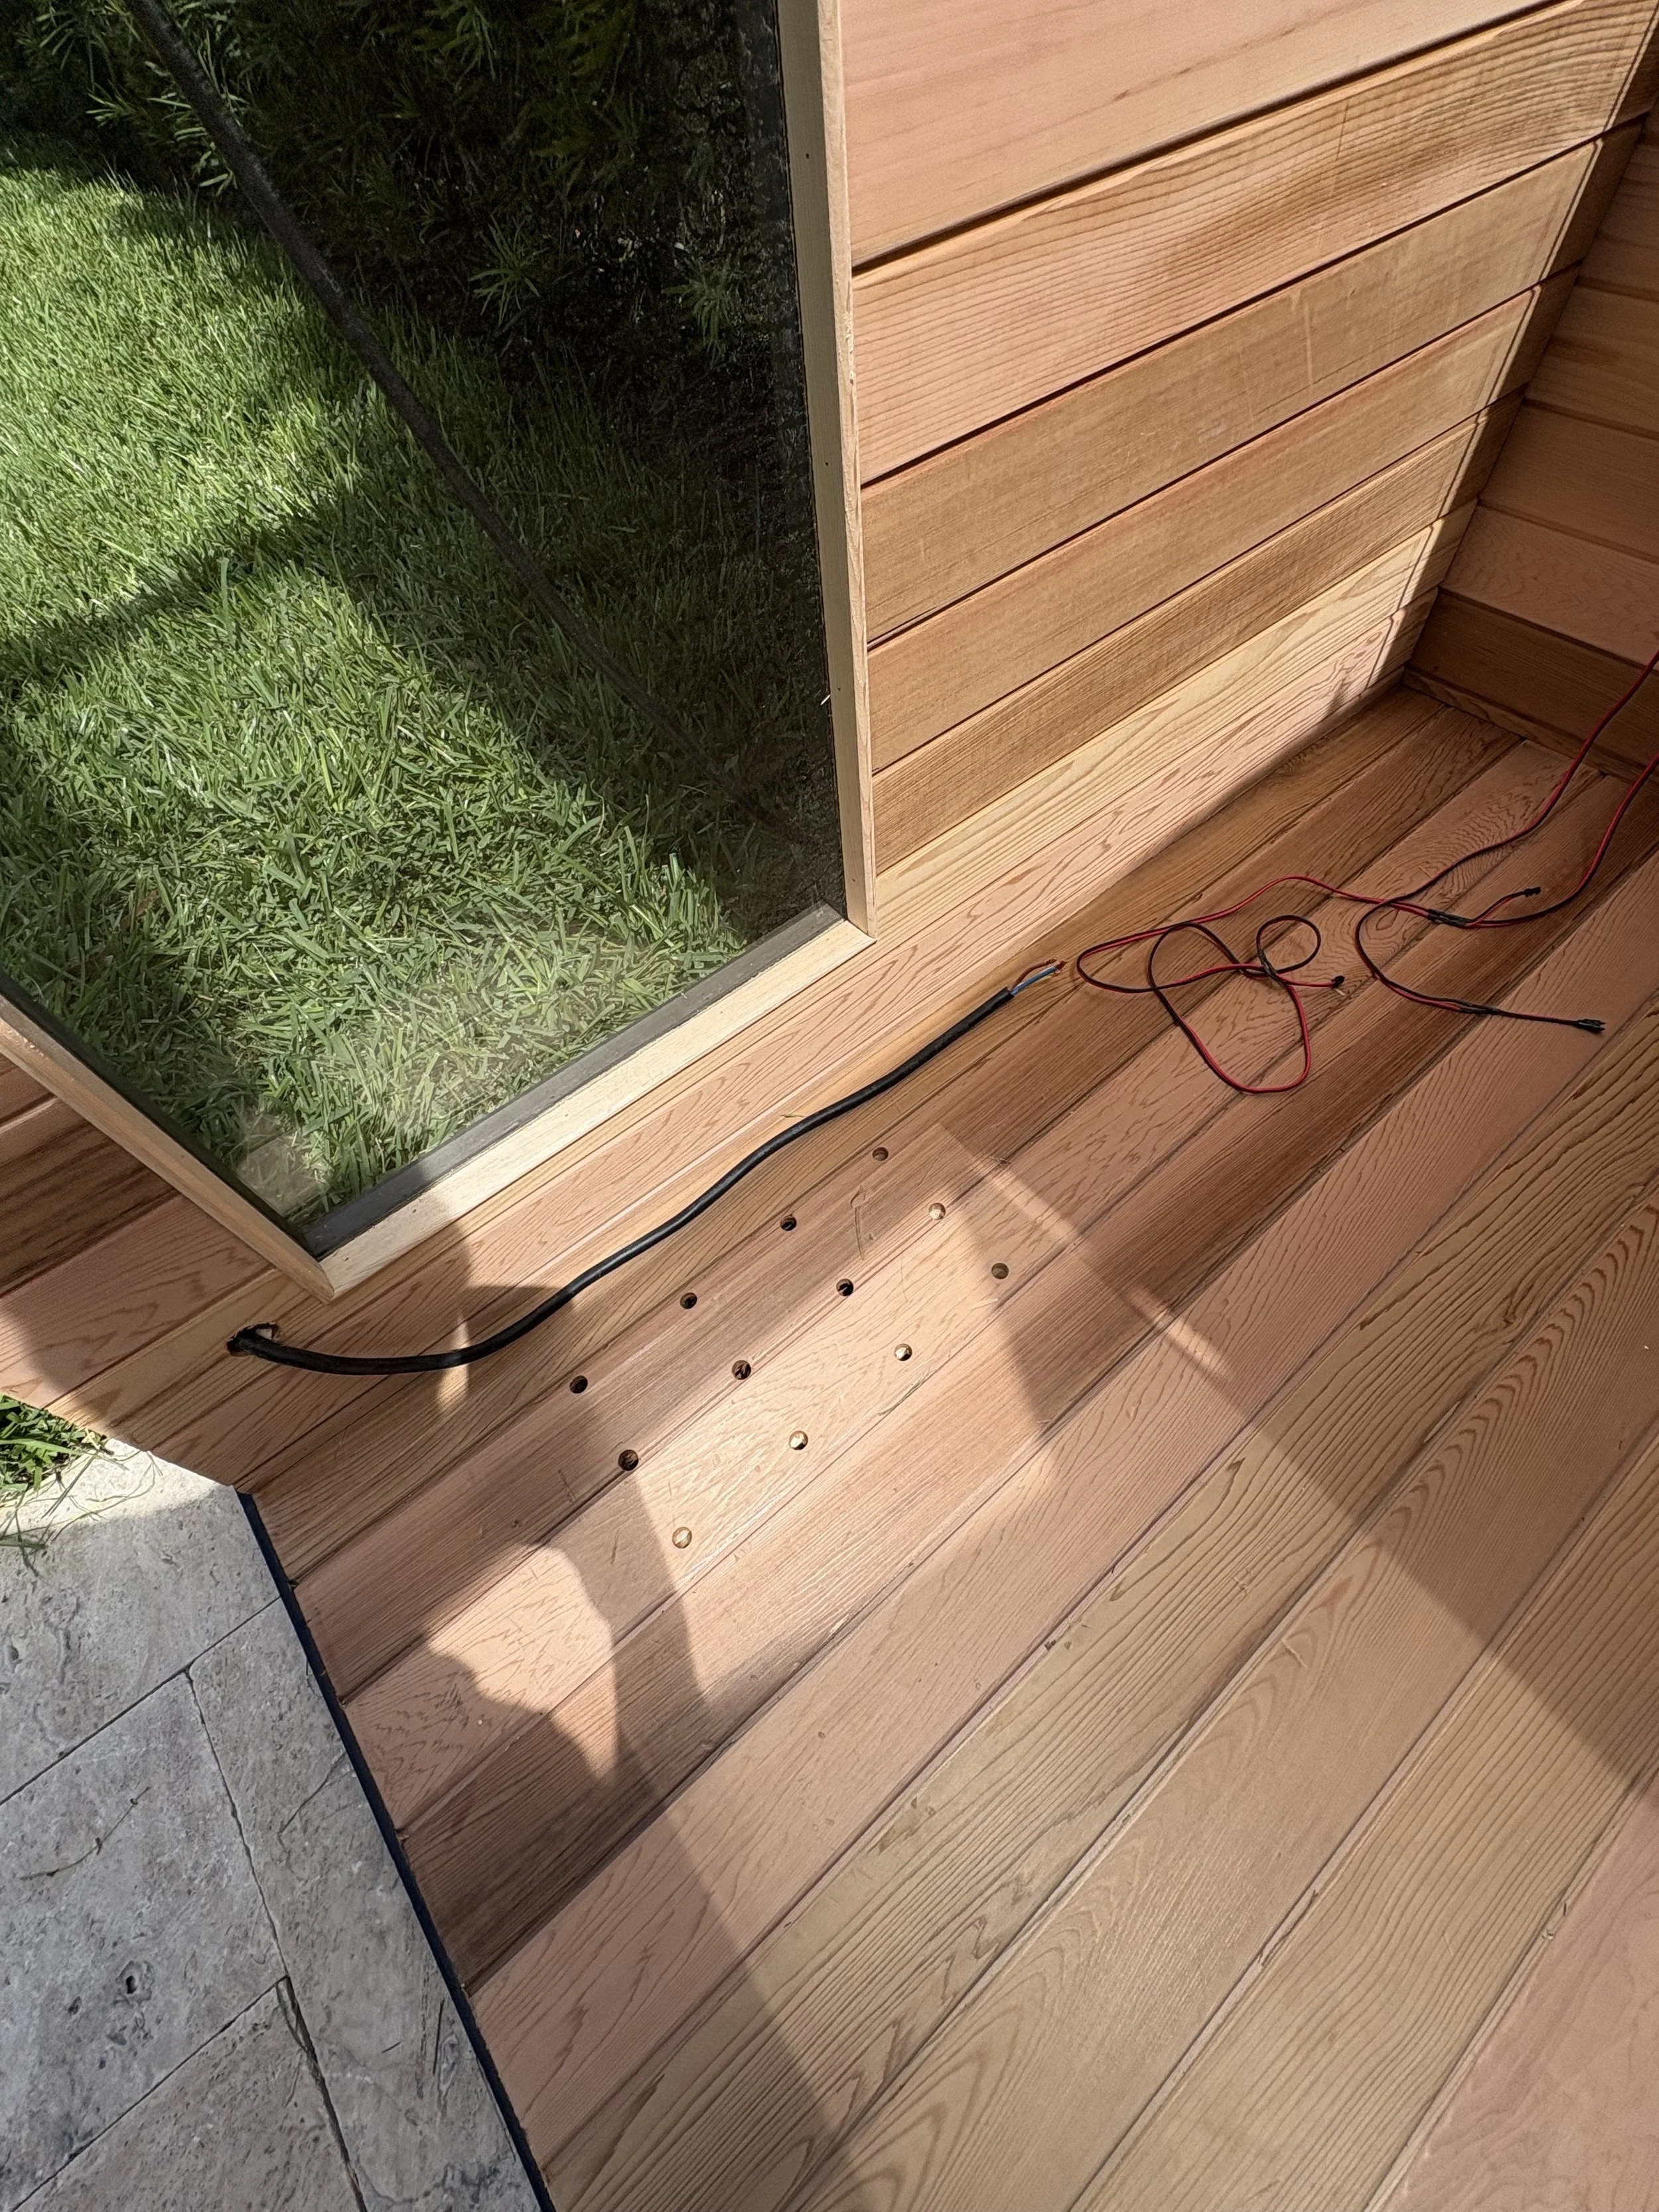
Electrical wires to connect to heater
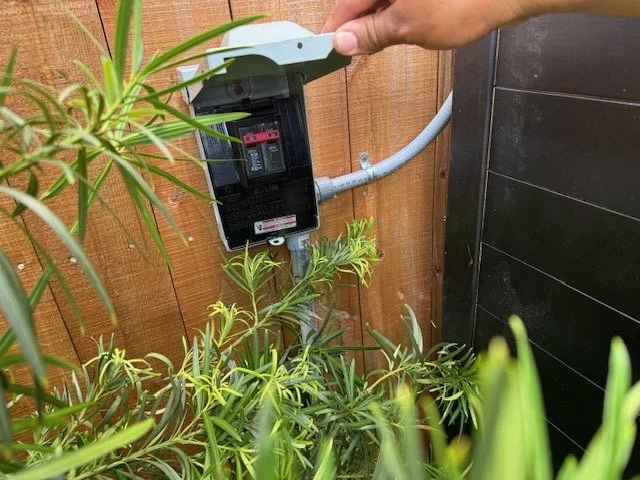
Example electrical hook up for heater
Watch our team assemble a sauna
Watch our team assemble a customer’s sauna in the factory.
Video A - Example Assembly
Screw wood ceiling piece into sauna walls
This video is a top-down view showing the two pieces that need to be screwed together. Two screws on each of the 4 sides.
Video B - Attach wood ceiling piece to sauna walls
Add the roof tiles
Add roof tiles and screw in to secure.
Video C - Secure roof tiles to wood ceiling piece
Seal each rooftop screw to protect from water damage.
See our shopping list at the top of the page for recommended sealants.
Video D - Seal each roof screw